I attended a luncheon this past weekend, and we were supposed to bring a dish that started with the first letter of our last name. I needed to bring something that started with W. Some of my friends asked me what bread I was going to bring. I said, “Bread! What makes you think I’m going to bring bread?” Lol…they know me too well.
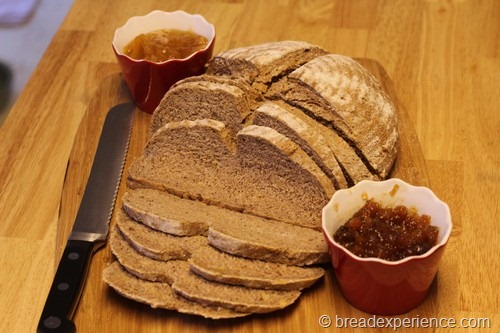
I saw this Walnut and Seed Bread in one of my soup cookbooks recently and had been waiting for the right opportunity to make it. This was it! It is a very earthy bread so I served it with homemade Orange Marmalade and Spiced Wine and Peach Jam to balance the flavor. It was a big hit!
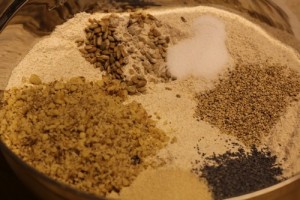
This Walnut and Seed Bread is also a very healthy bread. It’s made with whole wheat flour in addition to seven grain flour, a little bit of white bread flour, walnuts, sesame seeds, sunflower seeds, and poppy seeds.
The bread featured in the book was baked in a loaf pan, but I opted to bake it freeform on a baking stone. I thought a freeform loaf would make a better presentation and compliment the other items at the luncheon.
Walnut and Seed Bread
Makes
: 2 Large Loaves
Adapted from: Soup, An inspiring collection of soups, broths, and chowders by Love Food
Ingredients:
- 4 cups whole wheat flour
- 4 cups 7-grain flour (or other multigrain flour)
- 1 cup white bread flour, plus extra for dusting
- 2 T sesame seeds
- 2 T sunflower seeds
- 2 T poppy seeds
- 1 cup chopped walnuts
- 2 teaspoons salt
- 1/2 oz/15 g active dry yeast
- 2 T walnut oil (or olive oil)
- 3 cups lukewarm water (more as needed)
- 1 T melted butter or oil, for greasing
Directions:
1) Mixing and Kneading the Dough:
Combine the flours, seeds, walnuts, salt, and yeast in a mixing bowl.
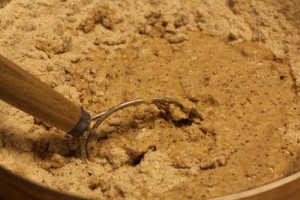
Add the oil and lukewarm water and stir well to form a soft dough.
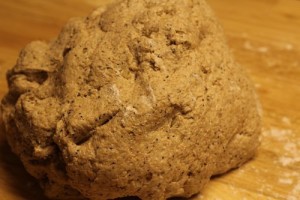
Turn the dough out onto a lightly floured surface and knead well for 5-7 minutes. The dough should be smooth and supple.
2) Bulk Fermentation:
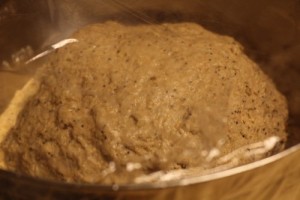
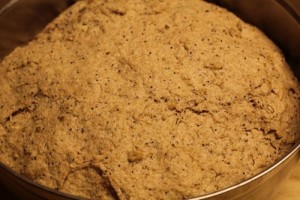
Return the dough to the bowl, cover with a clean dish towel or plastic wrap, and leave in a warm place for 1 – 1 1/2 hours to rise.
When the dough has doubled in size, turn it out onto a lightly floured surface and knead again for 1 minute.
3) Shape the Dough and Final Proof:
Instead of baking the loaves in loaf pans, I shaped them freeform using the following method:
I forgot to take photos of this dough rising in the banneton baskets so refer to the Semolina Bread with Whole Grain Soaker post if you want to see a visual of this part of the process.
Divide the dough into two equal pieces and shape them into loose rounds seam side up. Cover the rounds with plastic and let them rest for 10 minutes or so.
Shape the dough into tighter rounds and place them in banneton baskets to proof. Cover with plastic wrap and let them rise in a warm place for 30 minutes or until the dough has doubled in size again.
4) Prepare the Oven for Hearth Baking:
Prepare the oven for hearth baking by placing a baking stone on the middle rack of the oven and a steam pan underneath. Then preheat the oven to 450 degrees F.
5) Score the Loaves:
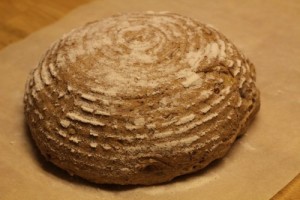
Invert the loaves onto a baking sheet covered with parchment paper.
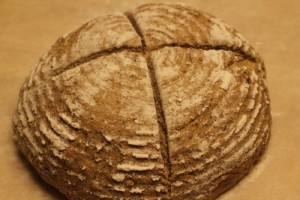
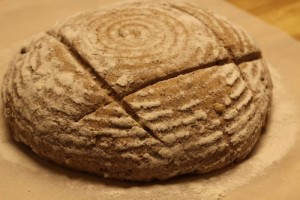
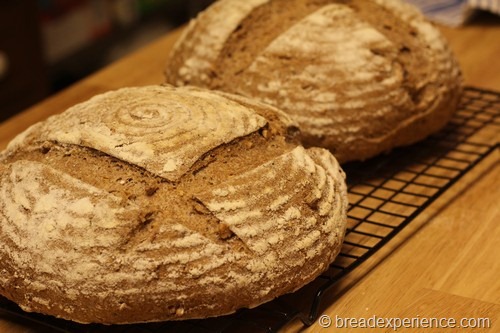
Score the loaves in the desired pattern. I made an X in one loaf.
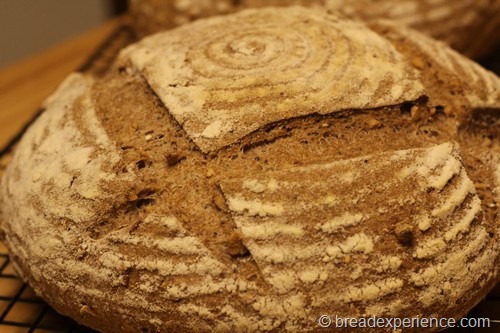
I scored the other loaf using a different pattern.
6) Baking the Loaves:
Once the oven is preheated, slide the breads (on the parchment paper) directly onto the baking stone and pour 1 cup of water in the steam pan. After 30 seconds, open the door, spray the walls with water, and close the door. Repeat twice more at 30-second intervals.
Bake the bread for 25 to 35 minutes. Check the breads during the bake and rotate them 180 degrees for even baking if necessary. Continue baking until the breads are brown and sound hollow when tapped on the bottom.
7) Cooling and Slicing the Loaves:
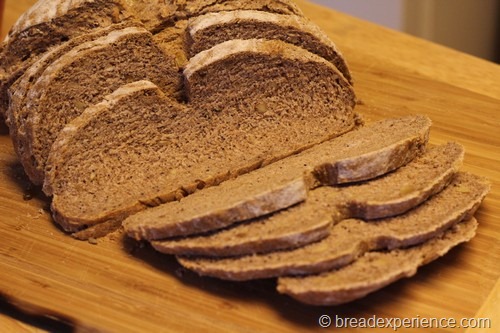
Remove the loaves to a wire rack to cool completely (30 minutes to 1 hour) before slicing and serving.
I took one of the loaves with me to the luncheon. It disappeared!
My son is home from college this week so I saved the other loaf for us to enjoy. It tastes really good with pot roast. This bread also makes a mean peanut butter and jelly sandwich.
This bread has been YeastSpotted. Please visit Wild Yeast to view all of the lovely breads in the weekly roundup.
Happy Baking!
Cathy
![image[4] image[4]](https://www.breadexperience.com/wp-content/uploads/image-25255B4-25255D-25255B4-25255D.png)
fabricpixie says
Hi Just discovered your blog … love all the bread recipes, the photos make me drool.
I noticed that you apparently have a bread making machine from looking thru past posts but you rarely use it, or bake with it. Can you explain why?
We recently got a bread machine and have only made 2 loaves, not with great success. Is this the reason you prefer to hand knead and use your oven?
sue in CA
Cathy (breadexperience) says
Hi Sue!
Thanks for visiting my blog. I started out using a bread machine and I do still use it at times. However, the more I get into bread baking, the more I want to do it by hand especially artisan breads. It’s the experience.
There are definitely times when a bread machine comes in handy. I still use it to make my favorite roll recipe during the Holidays because I’m usually doing a lot of things at the same time. You can also use a bread machine to mix and knead the dough, then shape it freeform and bake it in the oven. I like to get my hands on the dough whenever possible. However, I did use it and a stand mixer last year when I injured my arm.
I think you should give it another chance. You might want to get a bread machine cookbook. You can create some wonderful artisan breads using it as a tool.
fabricpixie says
Thanks for the quick reply. I’m sending the link to your blog to my hubby. That should get him excited.
I think part of the challenge has been that I’ve been trying to do low sodium recipes from books, and we live in high altitude, and tried the changes recommended in amounts. That may have had a bearing. I’m going to keep trying.
I don’t know how you have the time to do all that prep and kneading by hand, I’m in awe. But I completely understand about the ‘experience’ of being hands-on.
sue in CA
Nina says
This looks sooo wonderful. I loved the shape and the look of the bread.
Heather @girlichef.com says
I have a thing for breads that are studded with seeds and nuts. I adore them! I like that you chose to use a banneton instead of a loaf pan, it makes the loaves look so rustic and beautiful!