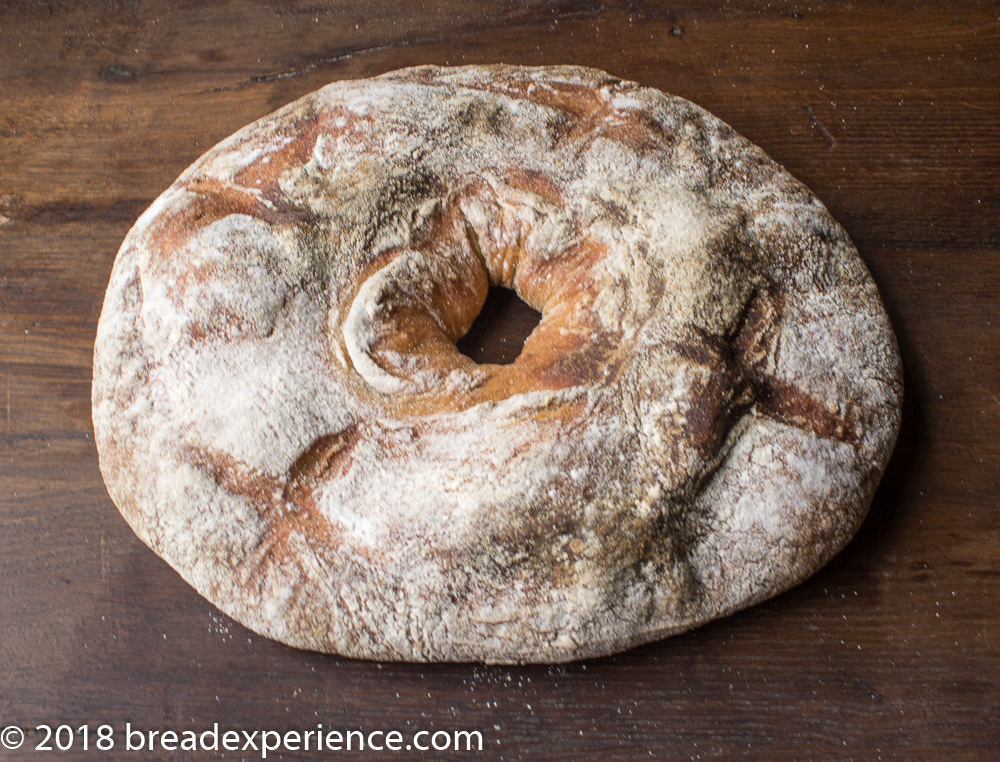
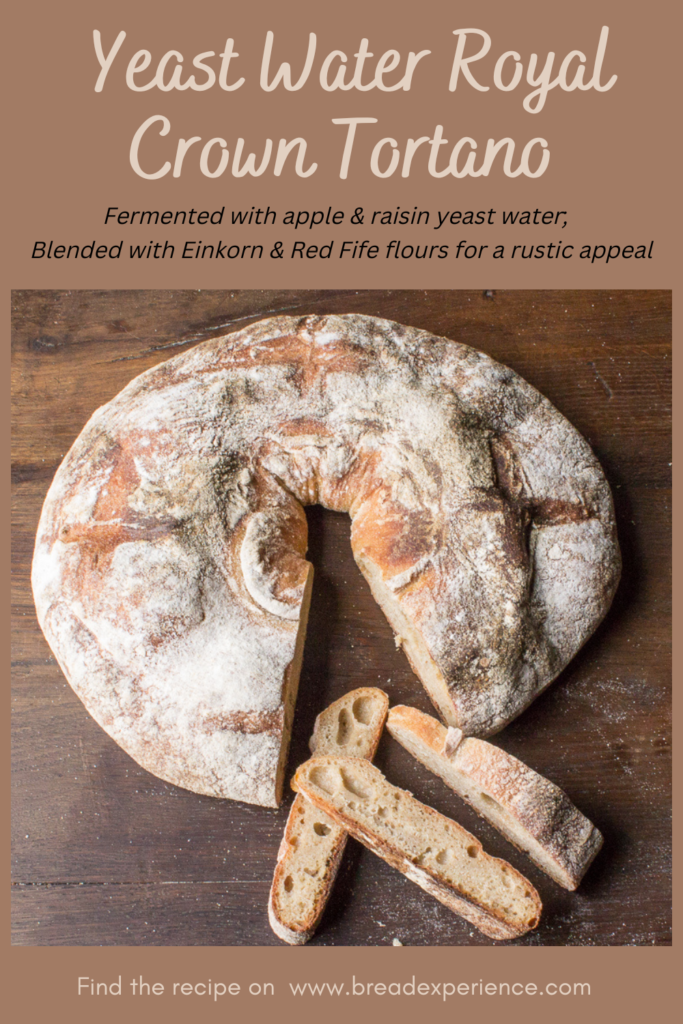
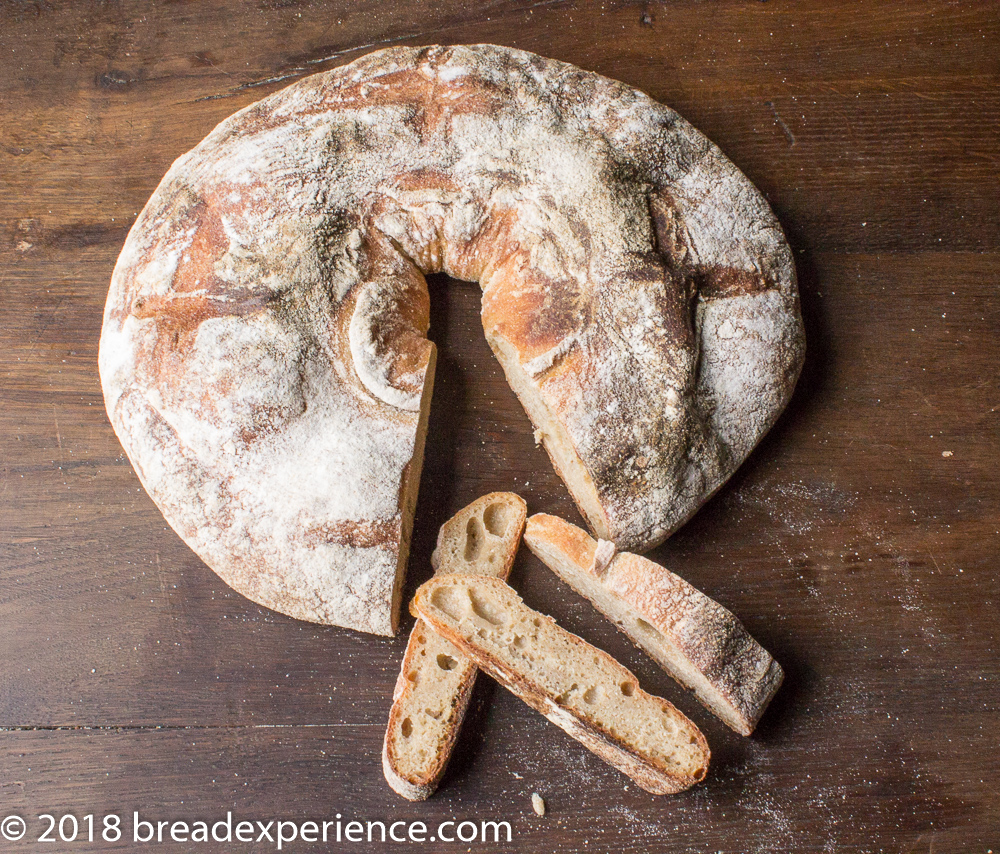
This Yeast Water Royal Crown Tortano is made with an apple and raisin yeast water starter and includes about thirty-five percent home-milled whole grain einkorn and red fife flours. The whole grain flour adds a very rustic appeal and a delicious flavor.
10th Anniversary of the Bread Baking Babes
Royal Crown Tortano is a very special bread for the Bread Baking Babes. It was the first loaf the Babes baked together back in 2008.
Today is the 10th Anniversary of the Bread Baking Babes, and to celebrate this momentous occasion, the Babes are revisiting this bread.
I wasn’t a member of the group when they baked this loaf in 2008 so this is a first for me. It’s a unique bread, and I’m thrilled to have the opportunity to bake it.
Another first for me is using a yeast water starter. I’ve wanted to try this method for awhile, but hadn’t gotten around to it.
When I noticed the directions for this loaf included an overnight dried-yeast-fermented water, I thought this would be a good opportunity to try an actual yeast water starter instead of using dried yeast.
Making the Yeast Water Starter
I used Piotr Lesnianski’s (one of the admins for the Fermenting and Baking with Wild Yeast and Waters FB Group) apple and raisin yeast water starter method to create the yeast water.
My favorite starter was created using apples that I picked from an apple orchard. This yeast water method is very similar to my original method, except this one also includes raisins.
What you need to make the yeast water starter:
- 2 organic granny smith apples, washed, chopped into small chunks, skins & cores included
- small handful of raisins
- 600 mL of filtered water or bottled water
- 1 sterilized glass jar with lid
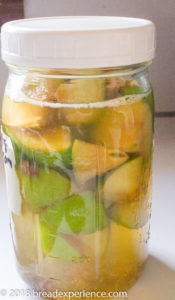
Place the apples, raisins and water in the jar and shake well to combine. Leave the jar at room temperature. Two times per day, carefully open the jar to let the gasses out. Close the jar and shake it well. After 5 days, you should start to see fizzing.
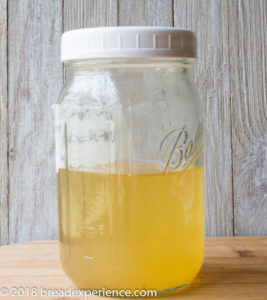
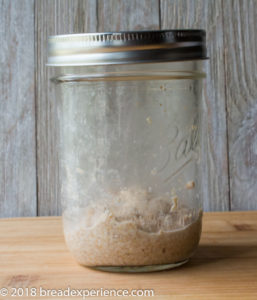
When the water is ready, strain it through a sieve and discard the apples and raisins. In a separate, clean and sterilized jar, take 50 grams of apple water and mix it with 50 grams of whole wheat flour. I used freshly-milled red fife flour. Put a lid on the jar and let it rest at room temperature for 6-8 hours. Feed it again with a 50/50 mixture of whole wheat flour and water and let it rest again for 6-8 hours.
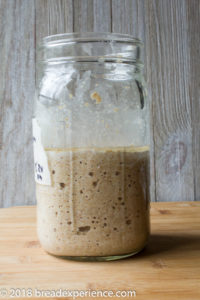
During this time, you should start to see fermentation. It will grow in volume and you should see lots of air bubbles. Feed it again but with a mixture of 150 grams of whole wheat and 150 grams of water. After another 6-8 hours, you should have 500 grams of a strong, active starter that is ready to use in bread.
Timeline:
The Evening Before Baking:
Make the starter and if you like the mashed potato. *
The Next Morning: Mix the dough and let it ferment for about 4 hours. Shape it, proof it for about 1 1/2 hours, and then bake the bread for about 45 minutes.
* Timing for the dried yeast method: About 19 hours, with about 20 minutes of active work (utilizing a yeast water starter adds an additional 6-7 days to the process).
* Timing for yeast water starter method: The apple and raisin yeast water takes about five days to create and then another day or so is spent feeding the starter with flour a few times before it is ready to ferment the loaf. If you want to bake your loaf with yeast water, you will need to start this recipe about 6 days BEFORE you want to bake the bread. I started the yeast water on Monday evening and it was fizzing very nicely on Friday afternoon. I fed it with flour every 6-8 hours and baked the loaf Saturday evening.
Yeast Water Royal Crown Tortano Method
(Adapted from Artisan Baking Across America by Maggie Glazer)
Makes: One (1) 2 1/4lb (1200 gram) tortano
Apparently, this is the most beautiful bread Royal Crown makes. It is a huge round loaf filled with radish size air cells which are achieved due to careful handling and lots of water in the dough. Mashed potato is added for flavor and moistness and honey for color to this very wet dough.
For extra flavor, the bread is leavened solely by its starter, so it rises very slowly and develops a nice but not aggressive acidity. To get authentic Italian flavor, you will need to bake this bread to a deep, dark brown so don’t skimp on the baking time – the bread will not burn.
Evening Before Baking:
Follow the method below if you are using dried yeast or a regular, active sourdough starter.
If want to use a yeast water starter, follow the process outlined above (with step-by-step instructions and photos), then add 175 grams of the fed and active yeast water starter to the final dough.
Make the overnight dried yeast starter:
Ingredients:
- 1/4 tsp instant yeast
- 1 cup water 105 – 115 degrees F
- 100 grams unbleached bread flour
- 85 grams small potato
Stir the yeast into the water in a glass measure and let it stand for 5 – 10 minutes. Add 1/3 cup of this yeasted water (discard the rest) to the flour and beat this very sticky starter until it is well combined. Cover with plastic wrap and let it ferment until it is full of huge bubbles and sharp tasting, about 12 hours. If your kitchen is very warm and the pre-ferment is fermenting very quickly, place it in the refrigerator after 3 hours of fermenting. In the morning, remove it and allow it to come to room temperature 30 minutes to an hour before beginning the final dough
Preparing the Potato:
For efficiency, you may want to prepare the potato the night before. Quarter it, then boil it in water to cover until it can be easily pierced with a knife tip, about 20 minutes. Drain; if desired, reserve the water for the dough. Press the potato through a ricer or sieve to puree it and remove the skin. Store it in a covered container in the refrigerator. You will need only 1/4 cup puree.
Bake Day: Mixing the Dough
Ingredients:
- 450 grams unbleached all purpose flour
- 125 grams whole grain einkorn flour
- 420 grams water, including the potato water if desired, lukewarm
- Pre-ferment – (all from dried yeast method; 175 grams apple/raisin yeast water starter fed with flour – see method above)
- 14 grams honey
- 60 grams mashed potatoes
- 15 grams salt
Use your hands to mix the flour and water into a rough, very wet dough in a large bowl. Cover the dough and let rest (autolyse) for 10 – 20 minutes.
Add the pre-ferment, honey, potato, and knead the dough until it is smooth, 5 – 10 minutes. It will start off feeling rubbery, then break down into goo; if you persist, eventually it will come together into a smooth, shiny dough. Let the dough rest 20 minutes, then add the salt, incorporate thoroughly and let it rest another 20 minutes.
This is a tremendously wet and sticky dough, so use a dough scraper to help you but do not add more flour, for it will ruin the texture of the bread.
Fermenting and Turning the Dough:
Shape the dough into a ball and roll it in flour. Place it in a container at least 3 times its size and cover tightly with plastic wrap. Let it ferment until doubled in bulk and filled with large air bubbles, about 4 hours. Using plenty of dusting flour, turn the dough 4 times in 20 minute intervals, that is, after 20, 40, 60, and 80 minutes of fermenting, the leave the dough undisturbed for the remaining time. Do not allow this dough to over ferment or forment to the point of collapse, for the flavor and structure of your bread will suffer.
Shaping and Proofing the Dough:
Turn the fermented dough out onto a well floured work surface, round it and let it rest for 20 minutes. Sprinkle a couche or wooden board generously with flour. Slip a baking sheet under the couche if you are using one for support.
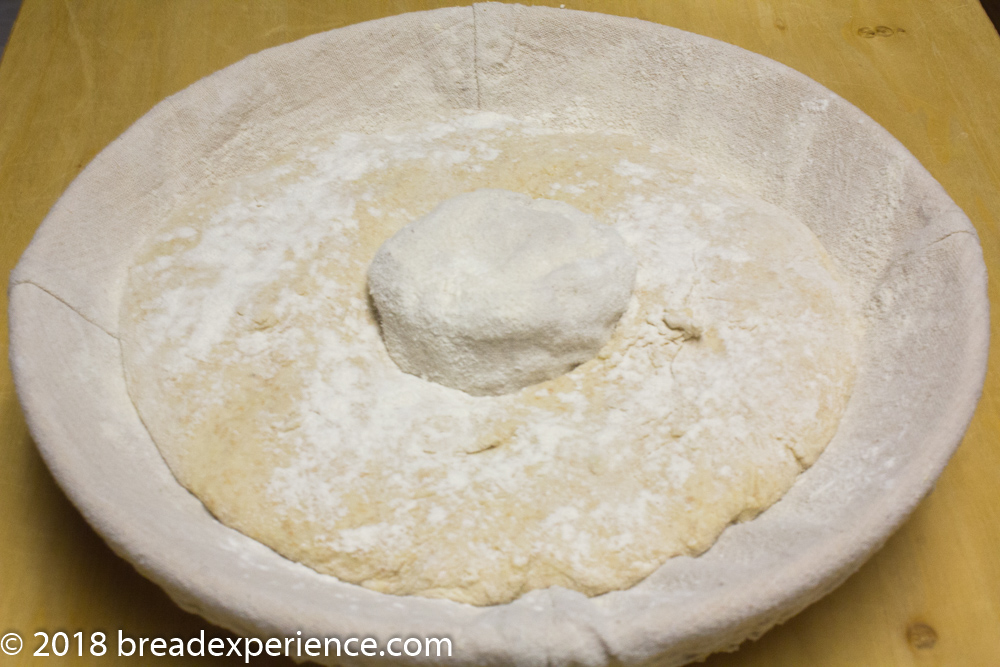
Sprinkle a generous amount of flour over the center of the ball. Push your fingers into the center to make a hole, the rotate your hand around the hole to widen it, making a large 4 inch opening. The bread should have about 12 inch diameter.
Place the dough smooth side down on the floured couche or board and dust the surface with more flour. Drape it with plastic wrap and let it proof until it is light and slowly springs back when lightly pressed, about 1 1/2 hours.
I proofed my loaf in a lined circular banneton basket to help keep the hole in the middle of the loaf from closing up. It did help keep it’s shape; however, due to the wet dough, this loaf has a tendency to spread whether you proof it in a basket, on a piece of parchment paper, or a couche.
Preheating the Oven:
Immediately after shaping the bread, arrange a rack on the oven’s second to top shelf and place a baking stone on it. Clear away all the racks above the one being used. Preheat the oven to 450 degrees (230 C). I made this loaf twice and in my it worked better when I placed a baking steel on the bottom rack and an iron skillet for a steam pan on the top shelf rather than having the baking steel on the top shelf.
Baking the Loaf:
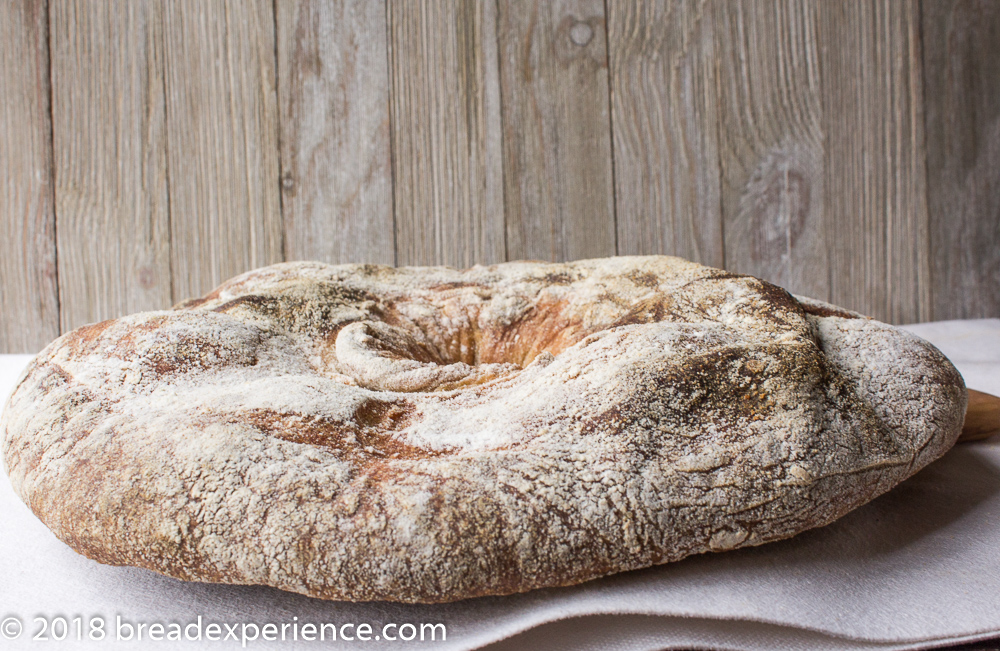
Unwrap the bread and flip it onto a floured peel or a sheet of parchment paper. Do not worry about damaging the bread as you handle it; it will recover in the oven as long as it is not overproofed. Slash it with 4 radial cuts in the shape of a cross. Slide the loaf onto the hot baking stone and bake until it is very dark brown, 40 -50 minutes, rotating it halfway into the bake. Let the bread cool on a rack.
Would you like to help the Bread Baking Babes celebrate our 10th Anniversary?
Tanna is the host kitchen this month, and we’re celebrating the Bread Baking Babes 10th Year Anniversary by making Royal Crown Tortano.

If you would like to become a Bread Baking Buddy, here’s how it works:
- The Kitchen of the Month (Tanna) will post the recipe, and you’ll find any information about the due date for posting in her post.
- Email The Kitchen of the month with your name and the link to the post.
- Post your “baking the bread” experience on your blog mentioning Bread Baking Babes with a link to the Kitchen of the Month.
- The Kitchen of the Month will put up a list of our Bread Baking Buddies at her site and send you a neat BBB award for this bread that you can then add to your post on your blog.
Be sure to visit all of the Bread Baking Babes to get their take on this month’s recipe:
- blog from OUR kitchen – Elizabeth
- A Messy Kitchen – Kelly
- Judy’s Gross Eats – Judy
- Karen’s Kitchen Stories – Karen
- Notitie Van Lien – Lien
- Bread Experience – Cathy
- Feeding My Enthusiasms – Elle
- Thyme for Cooking – Katie
- My Kitchen in Half Cups – Tanna
- My Diverse Kitchen – Aparna
Happy Baking!
Cathy
Note: I want to thank Brian of Belle Valley Ancient Grains for providing the Red Fife and Einkorn grains I used in this bread.
Karen says
I have tried making yeast water but have never been successful. I’ll have to try your recipe! Your loaf sounds delicious!
Cathy says
I hadn’t jumped on the yeast water bandwagon on purpose, but now that I have, I’m thinking of all kinds of possibilities.
Karen says
It might not have risen skyhigh, but the slices show a beautiful light crumb and lovely holes! Very interesting to read about your take on yeast water, ill keep that in mind!
Cathy says
Thanks Karen! I had fun making the yeast water.
Tanna says
I’m in awe! Yeast water. Easy to see why you’re a Babe. You grew some of the grains! Way beyond glorious!
The taste has got to be marvelous. Beautiful.
Cathy says
Thanks Tanna! I didn’t grow these grains, but I do have some wheat that is trying to grow in my yard. We’ll see if it succeeds.
Elizabeth says
I really like the rustic look of your bread! The crust looks perfect.
And what a great idea to use a banneton with a tube in the center!
Cathy says
Thanks Elizabeth! The banneton definitely helped.
Katie Zeller says
What an interesting yeast starter! I am in awe as well.
Beautiful bread!
Cathy says
Thanks Katie!
Lien says
That was very daring using just a sourdough water! It may appear a bit flat, still the slices are nice and airy. This dough really had a tendency to spread! Well done
Cathy says
Thanks Lien! This was a fun one!
Kelly says
You went above and beyond on this one! The starter, the flours, and I love how you kept the hole in the banneton, brilliant! Amazing color on your loaf.
Cathy says
Thanks Kelly! The einkorn and red fife do give it a lovely color.