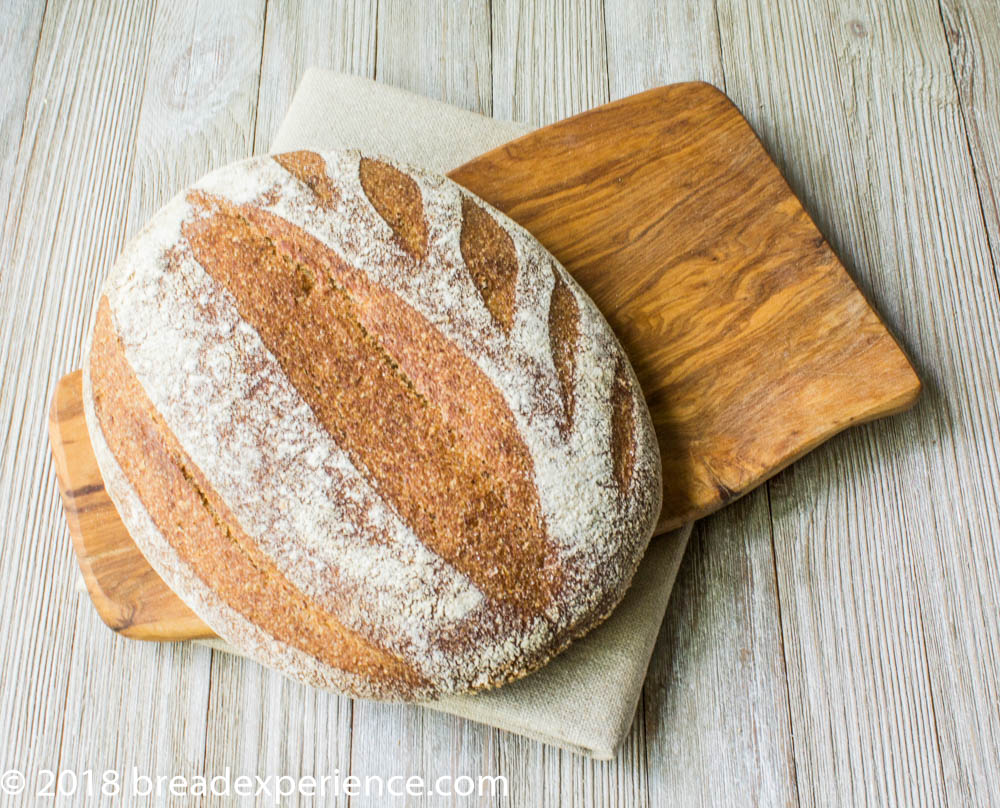
If you’re a whole grain lover (and even if you’re not), you’ll adore this Lariano-Style Bread. It is crafted with a mixture of stone-milled red fife and high-extraction wheat flour and utilizes an overnight levain to bring out the flavor and complexity of the grains.
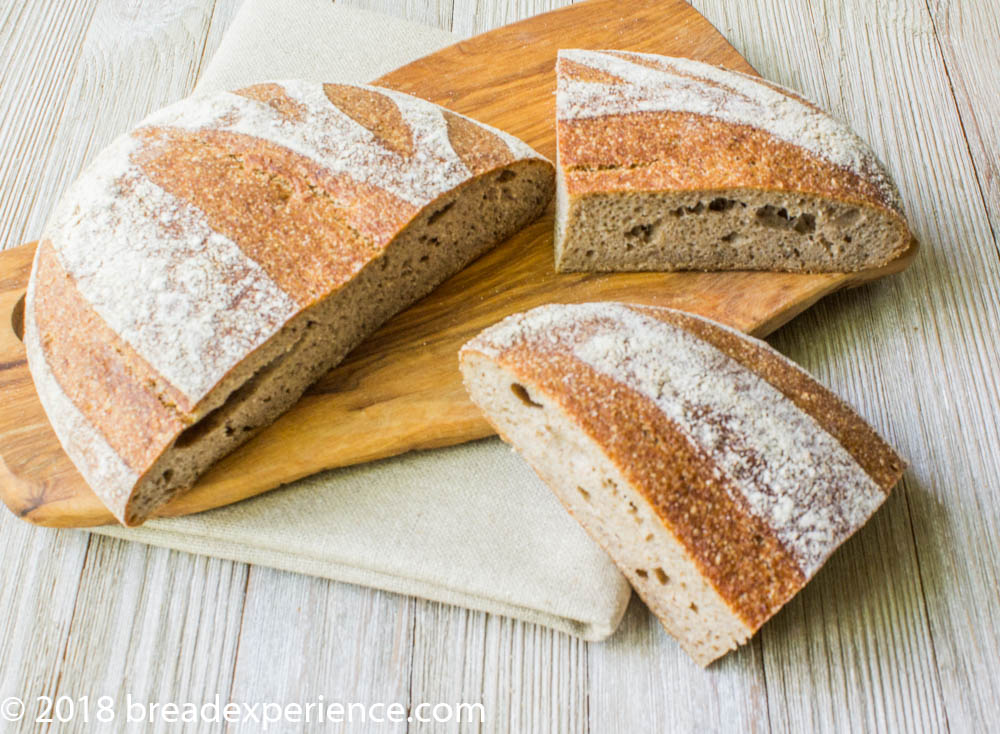
When you give the dough an overnight, cold ferment in the refrigerator, it develops more character. And, if you’re brave, allow the crust to reach a dark, caramelized color to create even more intense flavor notes. I didn’t quite reach bien cuit (meaning “well done” in French) with this loaf, but the crust and crumb were still beautimus (as my dad likes to say).
What is Lariano Bread?
Traditional Lariano Bread is made from a special wheat, which is grown in Lariano, a town outside of Rome. Lariano flour is a gray color and has an interesting grit to it (according to Jim Lahey, in The Sullivan Street Bakery Cookbook). Fortunately, even if you don’t have access to Lariano flour, you can enjoy this bread. Just use your favorite whole wheat flour.
Bread of the Month for the Bread Baking Babes
When Elizabeth, of blog from OUR kitchen, introduced the Babes to this bread, I was quite intrigued and inspired by her reason for wanting to bake it. She read about it in the book “My Kitchen in Rome” by Rachel Roddy, and was smitten. I can certainly understand why.
Although Rachel Roddy doesn’t have a recipe for Lariano bread in her book, Elizabeth found a recipe in Jim Lahey’s book, “The Sullivan Street Bakery Cookbook”: Truccio Saré (whole wheat sourdough).
Community Garden-to-table taste test was a hit
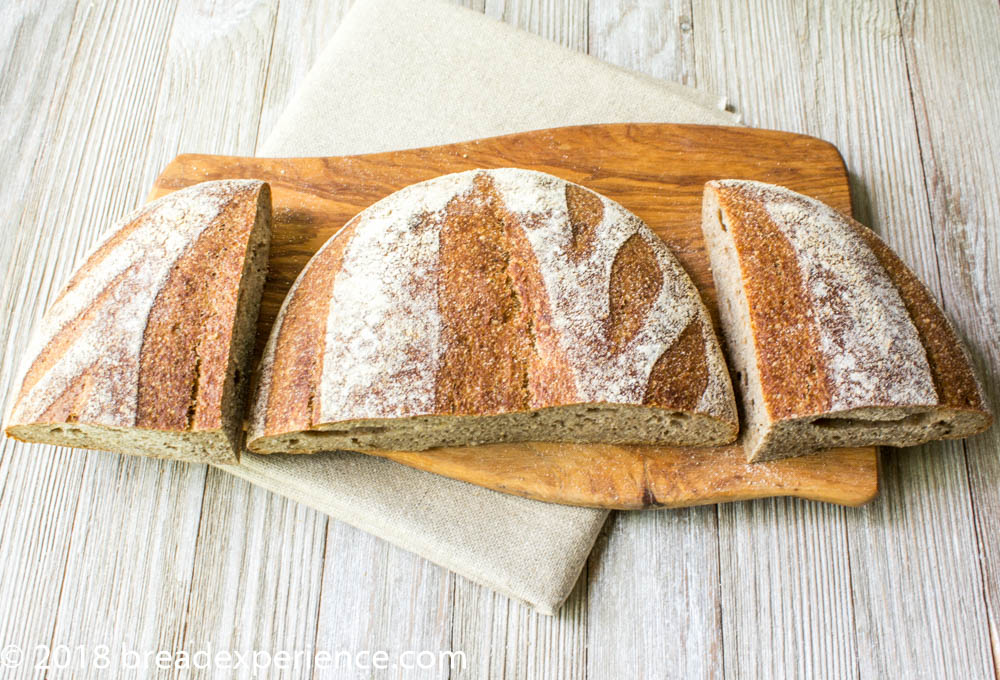
This bread has a delightfully complex flavor due to the inclusion of whole wheat flour. It pares well with cheeses, and meats, but also makes a great backdrop for dipping in olive oil and sprinkling with your favorite spice blend.
It received two thumbs up from the board members of my local community garden. We had our monthly board meeting outside in the garden one evening, and I chose the opportunity to treat them to some handcrafted bread.
We had our very own farm-to-table bread tasting, and I even let them sample some olive oil from my olive tree in Tuscany. They thought I was kidding, but I wasn’t. I adopted an olive tree in Tuscany a couple of years ago so every year I get to enjoy the fruits of the harvest. It was the perfect accompaniment to this Roman-inspired bread.
Cathy’s notes:
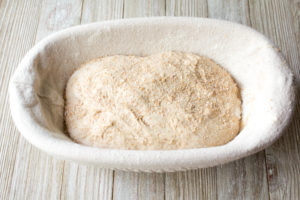
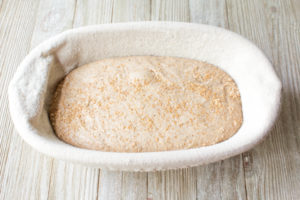
I followed Elizabeth’s formula/process until the shaping process. After shaping the loaf and placing it in the banneton proofing basket, instead of proofing it for 3-4 hours at room temperature, and then baking it, I allowed it to rest on the counter for several hours, then placed it in the refrigerator to cold ferment overnight. I baked the loaf straight from the refrigerator the next day in a preheated ceramic bread cloche.
Notes/Resources from Elizabeth:
:: Brotform: If you do not have a brotform, you can use Lahey’s method for proofing the shaped loaf: He coats a parchment-covered baking sheet with bran, then shapes his loaf into a ball and places it seam side down onto the bran. He scatters a little more bran on top before covering the shaped loaf loosely with a clean tea towel. He lets it rest at room temperature until it has almost doubled in size.
:: Cooking container: If you’re lucky enough to have Le Creuset or a cast-iron combo cooker, of course, you should use that. But if you don’t, use your cast-iron pan and cover the bread with an overturned stainless steel mixing bowl for the first half of baking. The dome creates a steam chamber that encourages oven spring.
:: Oven temperature and baking times: Lahey suggests preheating the oven to 450F and baking with the lid on for 35 to 40 minutes. He then takes the lid off (removing the parchment paper at the same time) to bake the bread for a further 5 to 10 minutes, until “the crust has attained at least a rich golden color; if you favor a dark crust” as Lahey does, “you can go as far as 12 minutes to a deep mahogany”.
Resources:
» Gourmet Sleuth: Cooking Conversions Calculator
» Google Books: Truccio Saré (Whole Wheat Bread) recipe, The Sullivan Street Bakery by Jim Lahey, p.93
Lariano-Style Bread – Pane di Lariano Recipe
- Yield: 1 Loaf 1x
Description
This Lariano-Style Bread is crafted with a mixture of stone-milled red fife and high-extraction wheat flour and utilizes an overnight levain to bring out the flavor and complexity of the grain
Ingredients
Leavener
- 35 grams room temperature water
- 5 grams 100% hydration starter from fridge
- 50 grams 100% whole wheat flour
Bread
- 20 grams leavener (the rest goes back into the jar in the fridge) I used 25 grams
- 275 grams room temperature water (+ add’l if using more whole wheat)
- 100 grams whole wheat flour, sifted after weighing (I used Red Fife)
- 4 grams wheat germ (I omitted the wheat germ)
- 10 grams flax seed, finely ground
- 290 grams unbleached all-purpose flour (I used high-extraction flour)
- 25 grams room temperature water
- 8 grams salt
Instructions
- leavener: On the evening before baking the bread, put the leavener ingredients into a medium-sized bowl. Using your dough whisk (use a wooden spoon if you don’t have a whisk), mix the leavener ingredients until all the flour is incorporated. Cover the bowl with a kitchen towel or plate and leave overnight (in a warm place) until it becomes bubbly and frothy like mousse.
- dough: On the morning of the day you will be baking the bread: When a small forkful of the leavener floats in a small bowl of room temperature water, you can go ahead and mix the dough. (If the leavener does not float, stir in a little more whole wheat flour and water – even amounts by weight – cover with a kitchen towel or plate and leave for about 30 minutes more. Chances are that it will now float.) Sift the flour into a large mixing bowl. (Set the bran aside for after shaping….) Add wheat germ (if using) and ground flaxseed to the flour. Pour 275gm (275ml) water. Add all the leavener. Use a wooden spoon or dough whisk to mix these ingredients to make a rough dough. Add more water if necessary. Cover the bowl with a kitchen towel and leave on the counter for about 40 minutes.
- adding the salt: In a small bowl, whisk the salt into the final 25gm (25 ml) water. Pour the salt mixture over the dough.
- kneading: Use one of your hands to squoosh the salt and water into the dough; use the other hand to steady the bowl – this way you always have a clean hand. At first the dough might be a bit messy and seem like it’s coming apart. Persevere. Suddenly, it will seem more like dough than a horrible separated glop. Keep folding it over onto itself until it is relatively smooth. Cover with a plate and leave to rest for about 30 minutes.
- stretching and folding: About 30 minutes after adding the salt, run your dough-working hand under water. Reach down along the side of the bowl and lift and stretch the dough straight up and almost out of the bowl. Fold it over itself to the other side of the bowl. Turn the bowl and repeat until it’s a little difficult to stretch the dough up any more. You’ll notice that the dough feels significantly smoother. Cover with a plate and leave on the counter (or if the kitchen is cool like ours in winter and early spring, into the oven with only the light turned on) for about 30 minutes. Repeat the above step 2 or 3 more times for a total of 4 folds.
- prepare the brot-form: Put rice flour into a brotform and distribute it as evenly as possible. (If you don’t have a brot-form, you can line a bowl, basket or sieve with parchment paper. You can also use a liberally rice floured tea towel (but then you have to deal with a floured tea towel once the bread is baked). If you do not have rice flour, you can use wheat flour. However, it makes it significantly more difficult for the bread to be released from the basket….
- shaping: Scatter a dusting of wheat flour on the board and gently place the dough on the flour. Using wet hands, stretch the dough into a longish rectangle, then fold it like a letter, gently patting off any extra flour that might be there. Continue folding until the dough is shaped in a ball. Place it seam side UP in the well floured (rice) brot-form. Sprinkle the reserved bran evenly over the top of the bread. Loosely wrap the shaped loaf with a clean tea towel and enclose the whole thing inside a plastic bag and leave it in the oven with only the light turned on for 3 or 4 hours (until it has about doubled and there are bubbles).
- baking: To know when it’s time to bake, run your index finger under water and gently but firmly press it on the side of the bread. If the dough springs back immediately, recover the bread with the plastic bag and leave it in the oven with only the light turned on. If the dough gradually returns back after being pressed, for the round loaf, put combo cooker (or a cast-iron frying pan and stainless steel bowl) into the oven and preheat all to 425F.
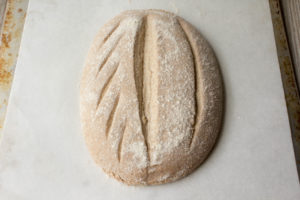
- When the oven is preheated (about 45 minutes later), put a square of parchment paper on the counter (the paper should be large enough to cover the bottom and sides of the frying pan). Overturn the shaped bread onto the parchment paper (the bran covered part will now be on the bottom). Using a lame (or scissors, or serrated knife), score the bread with a single line in the center. Take the pan and bowl out of the oven (wear oven mitts!!) and place the frying pan on the stove (to prevent burning your countertop…). Transfer the bread to the middle of the frying pan and immediately put the lid of the combo-cooker (or stainless steel bowl) overtop like a hat. Put everything into the oven on the middle rack and immediately turn the oven down to 400F. Bake for 60-80 minutes in all, removing the hat half-way through baking. The bread is done when the crust is a deep golden brown and the bread sounds hollow when tapped on the bottom.
- cooling: When the bread has finished baking, remove it from the pan and allow it to cool on a footed rack before slicing and eating; the bread is still cooking internally when first removed from the oven!
Notes
based on the recipe for Truccio Saré in The Sullivan Street Bakery Cookbook by Jim Lahey
- Category: Rustic Italian Bread
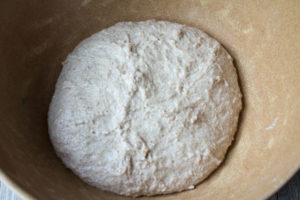
- Dough before stretch & folds
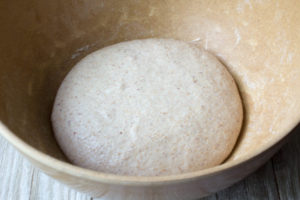
- Dough after stretch & folds
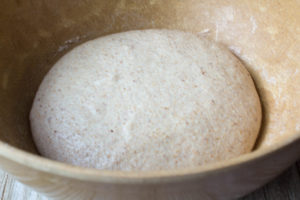
- Bulk fermented dough
- Shaped loaf sprinkled with bran
- Loaf after overnight cold ferment
- Scored loaf on parchment paper
We would love for you to bake along with us! Just bake your version of this bread by April 30th.
- The Kitchen of the Month is Elizabeth of, blog from OUR kitchen, Look for details on her post.
- Post your “baking the bread” experience on your blog mentioning Bread Baking Babes with a link to the Kitchen of the Month.
- The Kitchen of the Month will put up a list of our Bread Baking Buddies at her site and send you a neat BBB award for this bread that you can then add to your post on your blog.
Check out the Bread Baking Babes’ posts to get their take on making Nazook:
- blog from OUR kitchen – Elizabeth
- A Messy Kitchen – Kelly
- Judy’s Gross Eats – Judy
- Karen’s Kitchen Stories – Karen
- Bread Experience – Cathy
- Feeding My Enthusiasms – Elle
- Thyme for Cooking – Katie
- My Kitchen in Half Cups – Tanna
- My Diverse Kitchen – Aparna
Happy Baking!
Cathy
Elizabeth says
Wow, your bread looks beautiful! Even if it isn’t as dark as Lahey suggests. (Next time) And I really like those leaf-like markings from the scoring!
What a terrific idea to take the bread to your Community Gardening meeting! I’m suitably envious that you have olive oil from your very own Tuscan olive tree!
Do you think that it’s possible that the bread over-rose a little and that’s why it didn’t get really really dark in the baking – because the sugars were eaten up by the yeast?
Cathy says
Hi Elizabeth, I think the lack of dark coloring was mostly due to the fact I didn’t bake the loaf long enough without the cloche lid off to get the darker crust. I was too chicken! Maybe next time I’ll let it bake longer. We’ll see.
Elizabeth says
Do, Cathy. The dark caramelized crust is delicious. It adds a whole new dimension.
Kelly says
You and I treated this bread very similarly! Red fife and overnight cold ferment. It tasted so good didn’t it! I think your slashing looks absolutely gorgeous. And lol, I used to say beautimus when I was younger. 😀
Cathy says
Thanks Kelly! Cool! Great baking minds think alike! It was wonderful! And that’s too funny about the beautimus! I’m going to have to use that word more often now that I know others have used it too. 🙂
Karen says
Love your slashing pattern Cathy! P.S. Beautimus has been in my vocabulary forever! I don’t even know where i got it!
Cathy says
Thanks Karen! I was trying to think of a way to describe this bread, and beautimus just popped in my mind. Then I remembered my dad used to say it all the time. I thought he was just silly! But I guess he wasn’t!