I’m featuring breads made with Spelt during the month of January. Spelt is one of the super grains. It can be used as an exact substitute for whole wheat flour in baking recipes. Breads made with spelt have more protein, a deeper and richer flavor, and a slightly different texture than those made with wheat. All good things in my book. Try it, you’ll like it!
To experiment with the versatility of Spelt, I decided to use Spelt flour instead of whole wheat flour in the next couple of breads for the Mellow Bakers. The first bread is a Five Grain Levain.
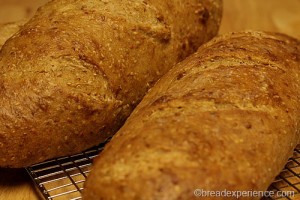
Five Grain Spelt Levain
I substituted freshly-milled spelt flour for the whole wheat flour and changed the mixture of grains in the soaker. I didn’t have any cracked rye or sunflower seeds, and I really wanted to use what I had on hand, so I substituted rye flakes for the chops and sesame seeds for the sunflower seeds.
Makes: 3 Loaves
Adapted from Bread: A Baker’s Book of Techniques and Recipes by Jeffrey Hamelman
Ingredients:
Liquid-Levain Build:
- 8 oz (1 7/8 cups) bread flour
- 10 oz (1 1/3 cups) water
- 1.6 oz (3 T) mature culture (liquid)
Soaker:
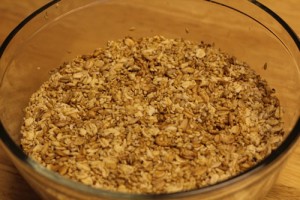
- 2.5 oz (3/4 cup) rye flakes or (2.9 oz (5/8 cup) cracked rye)
- 2.5 oz (3/4 cup) oats
- 2.9 oz (5/8 cup) flaxseeds
- 2.9 oz (5/8 cup) sesame seeds or (2.5 oz (1/2 cup) sunflower seeds)
- 13 oz (1 5/8 cups) cold water (if using cracked rye, use boiling water)
- .2 oz (1 tsp) salt
Final Dough:
- 1 lb (4 3/8 cups) high-gluten flour
- 8 oz (1 3/4 cups) spelt flour
- 8.4 oz (1 cup) water
- .6 oz (1 T) salt
- .1 oz (1 tsp) instant dry yeast (I retarded the dough overnight so I omitted the yeast)
- 1 lb, 8 oz soaker (all of above)
- 1 lb, 2 oz liquid levain (all less 3 T)
Directions:
1) Preparing the Liquid-Levain Build:
Prepare the sourdough by mixing all of the ingredients together. Let it ripen for 12 to 16 hours at 70 degrees F.
2) Preparing the Soaker:
Pour the water over the grain blend and salt; mix thoroughly, and cover with plastic to prevent evaporation.
Make the soaker at the same time as the final build of the levain and let it stand at room temperature.
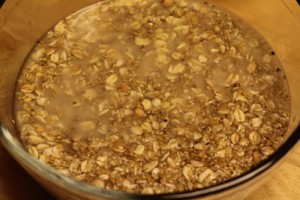
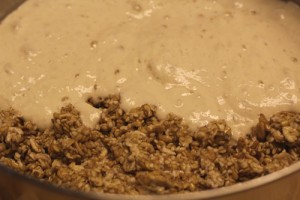
Soaker after 16 hours
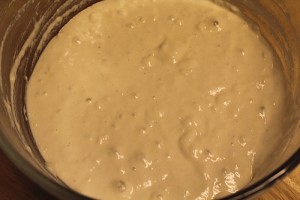
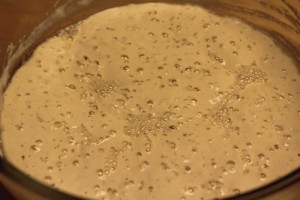
Liquid-levain after 16 hours
3) Mixing the Dough:
Add all of the ingredients to the mixing bowl. In a spiral mixer, mix on first speed for 3 minutes, adjusting the hydration as necessary. Mix on second speed for 3 to 3 1/2 minutes. The dough should have moderate gluten development. Desired dough temperature 76 degrees F.
4) Bulk Fermentation:
Place the dough in a clean bowl and let it bulk ferment for 1 to 1 1/2 hours if you plan on making the bread the same day. Fold the dough after 45 minutes.
If you run out of time like I did, you can retard the dough overnight* for the final fermentation. In which case you would let the dough bulk ferment for 2 hours and fold it after 1 hour.
*Instead of retarding the dough in the refrigerator for the final fermentation, I let it bulk ferment overnight in the refrigerator. I also omitted the instant yeast since the dough benefits from a slow fermentation in the refrigerator and therefore does not need any additional yeast.
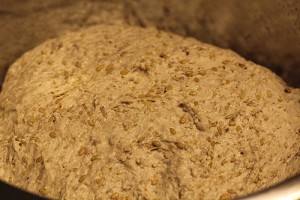
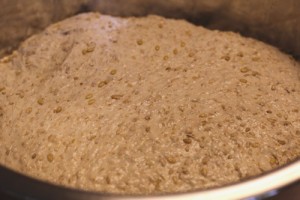
Dough after retarding in the refrigerator overnight
The next day, I let the dough warm up to room temperature before shaping the loaves and the final fermentation.
5) Dividing and Shaping the Dough:
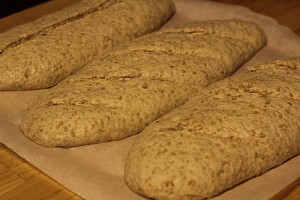
Divide the dough into 1.5-pound pieces and shape them round or oblong. I shaped the loaves into batards.
To learn how to shape a batard, refer to the Hutzelbrot post.
6) Final Fermentation:
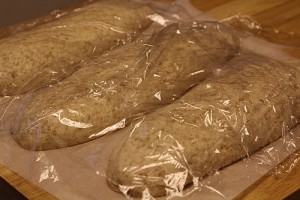
Place the batards on parchment paper and cover them with plastic wrap. Let them ferment approximately 1 hour at 76 degrees F. You can let the loaves retard in the refrigerator overnight at this point if you prefer instead of using my method outlined above*.
7) Preparing the Oven for Hearth Baking:
Prepare the oven for hearth baking by placing a baking stone on the middle rack of the oven and a steam pan underneath. Preheat the oven to 475 degrees F.
8) Scoring the Loaves:
Score the loaves using a serrated knife of lame. Since I had fermented the dough in the refrigerator and let it warm up to room temperature, it turned out to be a wet dough. This was a good thing for the crumb, but made it a little bit tricky for scoring.
9) Baking the Loaves:
Once the oven is preheated, slide the breads (on the parchment paper) directly onto the baking stone and pour 1 cup of water in the steam pan. After 30 seconds, open the door, spray the walls with water, and close the door. Repeat twice more at 30-second intervals.
Bake the bread for 15 minutes, then lower the oven setting to 450 degrees F. Continue baking for 30 minutes more. Check the breads during the bake and rotate them 180 degrees for even baking if necessary. Since there is a lot of water retention due to the grains, be sure to let the bread bake thoroughly.
9) Cooling and Slicing the Loaves:
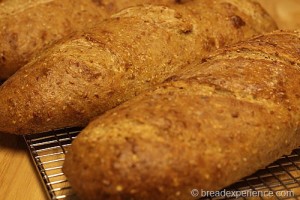
Remove the loaves to a wire rack to cool completely before slicing and serving.
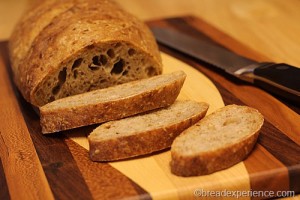
Slice and enjoy!
This bread has been YeastSpotted. Please visit Wild Yeast to view all of the lovely breads in the weekly roundup.
This is a wonderful bread. The combination of grains provides a unique texture as well as a pleasing color and flavor. It went really well with the homemade sausage marinara I made this past October using tomatoes from my abundant tomato harvest. I had a very hectic week this week and it was nice to be able to relax and not have to worry about dinner. I didn’t take a photo of that part so you can use your imagination.
Happy Baking!
Cathy
I just found your site. I am interested in making this bread–and I am also new to sourdough–could you tell me what you mean by “mature culture”? Thanks. Also, what do you recommend for starting to learn sourdough bread baking? Is there a particular recipe on this site that has step by step directions?
Hello, thanks for visiting my blog. A mature culture refers to a sourdough starter that has been fully developed. I used my apple starter for this bread. It was a fun one to cultivate. You can find the process for creating it here: http://breadmakingblog.breadexperience.com/2011/10/you-are-apple-of-my-starter.html.
Of course, you can also cultivate a starter with just flour and water. Here are the instructions for making one: http://breadmakingblog.breadexperience.com/2008/07/making-sourdough-bread-in-your-bread.html. This is the first sourdough starter I ever created completely from scratch. It was pretty easy to cultivate although the first bread was less than optimal since it was a new starter at the time. It takes a few weeks of feeding to get it fully matured. Hope this helps.